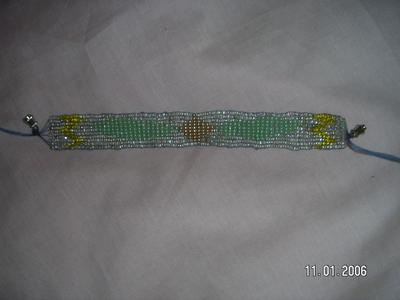
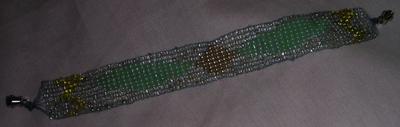
Final Product
Supplies
Beading loom
Beading thread
Seed beads in 4 colors (for the background, snitch, snitch wings and lightning bolts)
Beading needle
Clasps
Superglue
Chart

Instructions
Cut 11 1.5-foot long (76.2 cm) strings and knot both sides. Hook the ends to the knobs on the metal pieces on either side, and separate one string into each metal groove.

Double knot a string about 3” (7.6 cm) onto the string closest to you. Leave a tail of about 2” (5.1 cm). Push the string to the left side of the loom, though not passing the metal grooves.
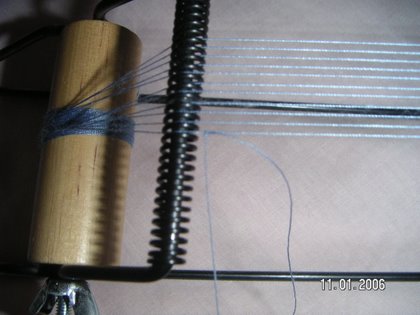
Thread the beading needle onto the thread so the tail is about 6” (15.2 cm) long. Then, thread 10 background beads onto the thread. Put the beads under the 11 strings and separate each into their own spots (see the picture).

Thread on 10 more background beads and repeat the last two steps. This is what you will do for every row. From now on, follow the chart, stringing on the beads, from the bottom of the row, up.
When you only have 2-3” (5.1-7.6 cm) left on you thread, it is time to get another one. This part takes a lot of practice, so go slow and be careful. Cut another strand of thread about 3' (90 cm) long, line one end up with the end of the first one and twist them together. Tie a knot in the string as close to the beads as possible. Be patient, it's a tricky step.
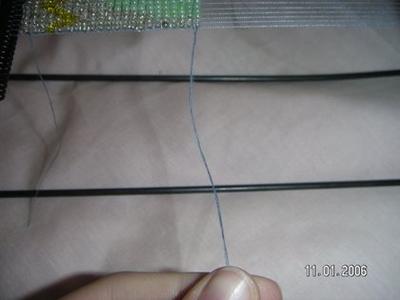
Keep following the pattern and adding new string as needed. When you get to the end, take your needle off the thread. Take each individual end and weave it back into the beading by threading the needle onto one, threading it back up that row, then back down the next, then back up the next one. Then, take the needle off and do it to the next until all are like that. Take it off the loom (see picture).

Put some super lue on the very edge of the bead and the string for every one. That should keep it in place. Cut off all the excess when dry. Then, tie on the clasps to either side all close as you can get them. Superglue the knots and cut off the excess.
Credit
Ellen Hope's tutorial was taken with permission from ellenhope.googlepages.com.


