Supplies
One sheet of 8.5" x 11" (21.59 cm x 27.94 cm) paper
Color Printer
Orange peeler or butter knife
Paper cutter or scissors
Template 1
Click on the picture for the full-size image.
Template 2
Click on the picture for the full-size image.
Instructions
After
enlarging the image to full-size, print template 1 on the front of a
sheet of computer paper and template 2 on the back of the same sheet of
paper so that it looks like Figure 1 below.
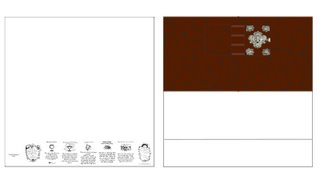
Author's
Note: When you print, the large outer squares must line up on each side
of the paper. Look through the paper at a bright light and make sure
the square on the side with the pages fits just inside the square on
the side with the cover.
Trim the edges of the paper even with the outside lines of the square, making sure that you end up with an 8" (20.32 cm) square.
Fold the square in half, so that template 1 is divided into the front and back cover of the book.
Open the fold and fold the outside edges into the crease from the first fold and repeat for other side.
Open this fold also and fold the outside edges to this crease.
Turn
your paper over and fold the edge you just folded over, still folded,
to the front; making sure it is lined up with the crease.
Then flip the paper back over and fold this fold back in on itself.
Repeat for the other side of the paper.
Flip the paper over to the front one more time and fold it in half. Your paper should now be folded into an accordian shape.
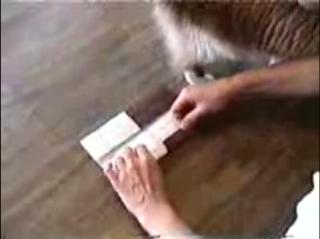
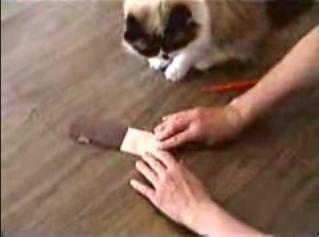
Using the smooth edge of a butter knife, or an orange peeler, make a crease on the printed line.
Fold the paper over top of the crease that you just made.
Open
the fold up and fold the edge of the paper into a triangle, lining up
the creased fold with the middle line running down the paper.
Use your creasing tool to crease the bottom half of the fold on the triangle.
Turn your paper around and fold the triangle back over itself, again creasing the bottom half.
Open the triangle and turn so that you are holding your book as shown in the following image.
Pinching the triangle, open the piece out flat.
Make it as square as possible, then crease.
Open the paper up and fold on the printed line as shown in the following image.
Keeping the fold from the above step in place, fold your book back into an accordian shape.
Fold the main body of the book over very close to the edge of the fold you made on the printed line.
Fold this fold over itself and crease.
Open the book up as shown in the following figure, then flip the book over.
Pinching
what will be the interior of the book between your fingers, open what
will be the exterior of the book up and fold as shown in the following
figure.
Crease the fold you just made.
Turn the book over, open up the folds, and
Turn the book over and open up the edges again, as shown.
You can now see your "pages" and the book's "cover".
Turn the book back over and , right above where you see your cover and making sure that the silver doesn't show, fold.
Fold the book cover in half horizontally, using the silver as a guide.
Fold the outside edges inward, as shown, then fold the same section over again. This will form your cover.
Fold
the edges of the cover to the inside of the book, covering the excess
interior pages; then fold it in on itself one more time.
Make the spine folds next, finishing up by repeating the previous cover folds for the back cover of the book.
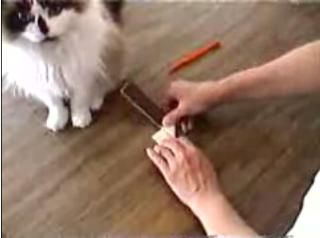
Open the little flap left between the book cover and pages and tuck the little flap of the cover into it on each side.
Crease the folds until you are happy with the appearance.
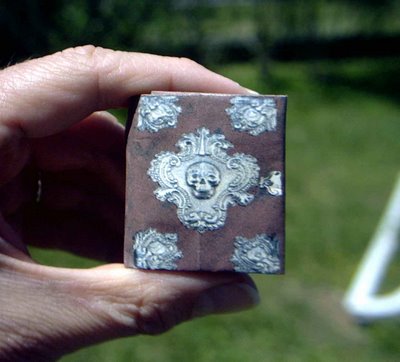
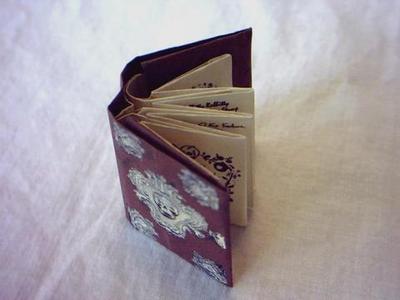
Final Product
Credit
© PJ's tutorial was taken with permission from craftylilthing.blogspot.com, where there is also a step by step video (should you need a bit more help!).


