Supplies
T-shirt, at least one size too large
Approximately 2 yards (2 metres) of 1/2” (1.3 cm) ribbon
Rotary cutter and ruler OR straightedge and sharp scissors
Chalk or pencil
Drinking straw
Skewer or chopstick
Masking tape
Fabric paint, pearlescent white and yellow
Polyester glitter
Spongebrush
Cardboard or newspaper
Instructions
Smooth your shirt out on a flat surface.
If using a rotary cutter, align just inside the sleeve and cut from bottom all the way to the top on both sides or use a straight edge and chalk to mark a line top to bottom then carefully cut with scissors. For a shorter shirt, cut off the bottom seam. Don't take off too much, as the laced sides will create a slightly rouched effect, raising the hemline somewhat.
Put the shirt over your head and see how it fits on the sides when the front and back are held together. You may want to cut more off of each side for a tighter fit.
Use chalk or a pin to mark the bottom of the armhole. Optional: cut out the neck ribbing and split the shoulder seams. Poke small holes approximately 1.5” (3.8 cm) apart along the front and back of the cut sides (*and shoulder seams) to the marked armhole with a sharp pair of scissors.
Lace ribbon from the bottom of the shirt up and knot. Tie off with a bow.
Protect the inside of the shirt with an old piece of cardboard or newspaper.
Decide how large you want your Honeydukes logo to be. Between 8 and 10” (20.3 and 25.4 cm) is a good size. Practice on scratch paper writing the name the way you want it to appear on the shirt. When you have it just as you want it, use this as your guide.
Use masking tape to mark off the area where you will be putting the Honeydukes logo. Paint the marked area with a spongebrush and pearlescent white fabric paint.
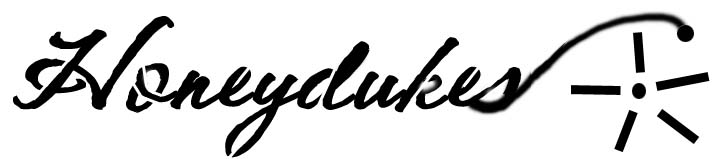
While the paint is still wet, cut the drinking straw down to the same width as the emblem. Slide the bamboo skewer inside it and use it like a rolling pin to gently smooth the paint. While that paint is still tacky, use the guide you created earlier and paint “Honeydukes” on top with yellow fabric paint. Take it slow and try not to drag the tip of the paint bottle. If you don't like your own handwriting, you can use this stencil.
Immediately sprinkle the surface with polyester glitter. Optional: stencil on a couple of stars and sprinkle those with glitter, too. Leave overnight to dry, shake off the excess glitter. Launder before wearing.
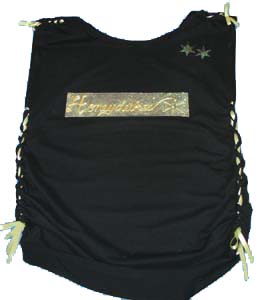
Final Product
Credit
© Jennifer Ofenstein (ofenjen)'s tutorial was taken with permission from sewhooked.org


